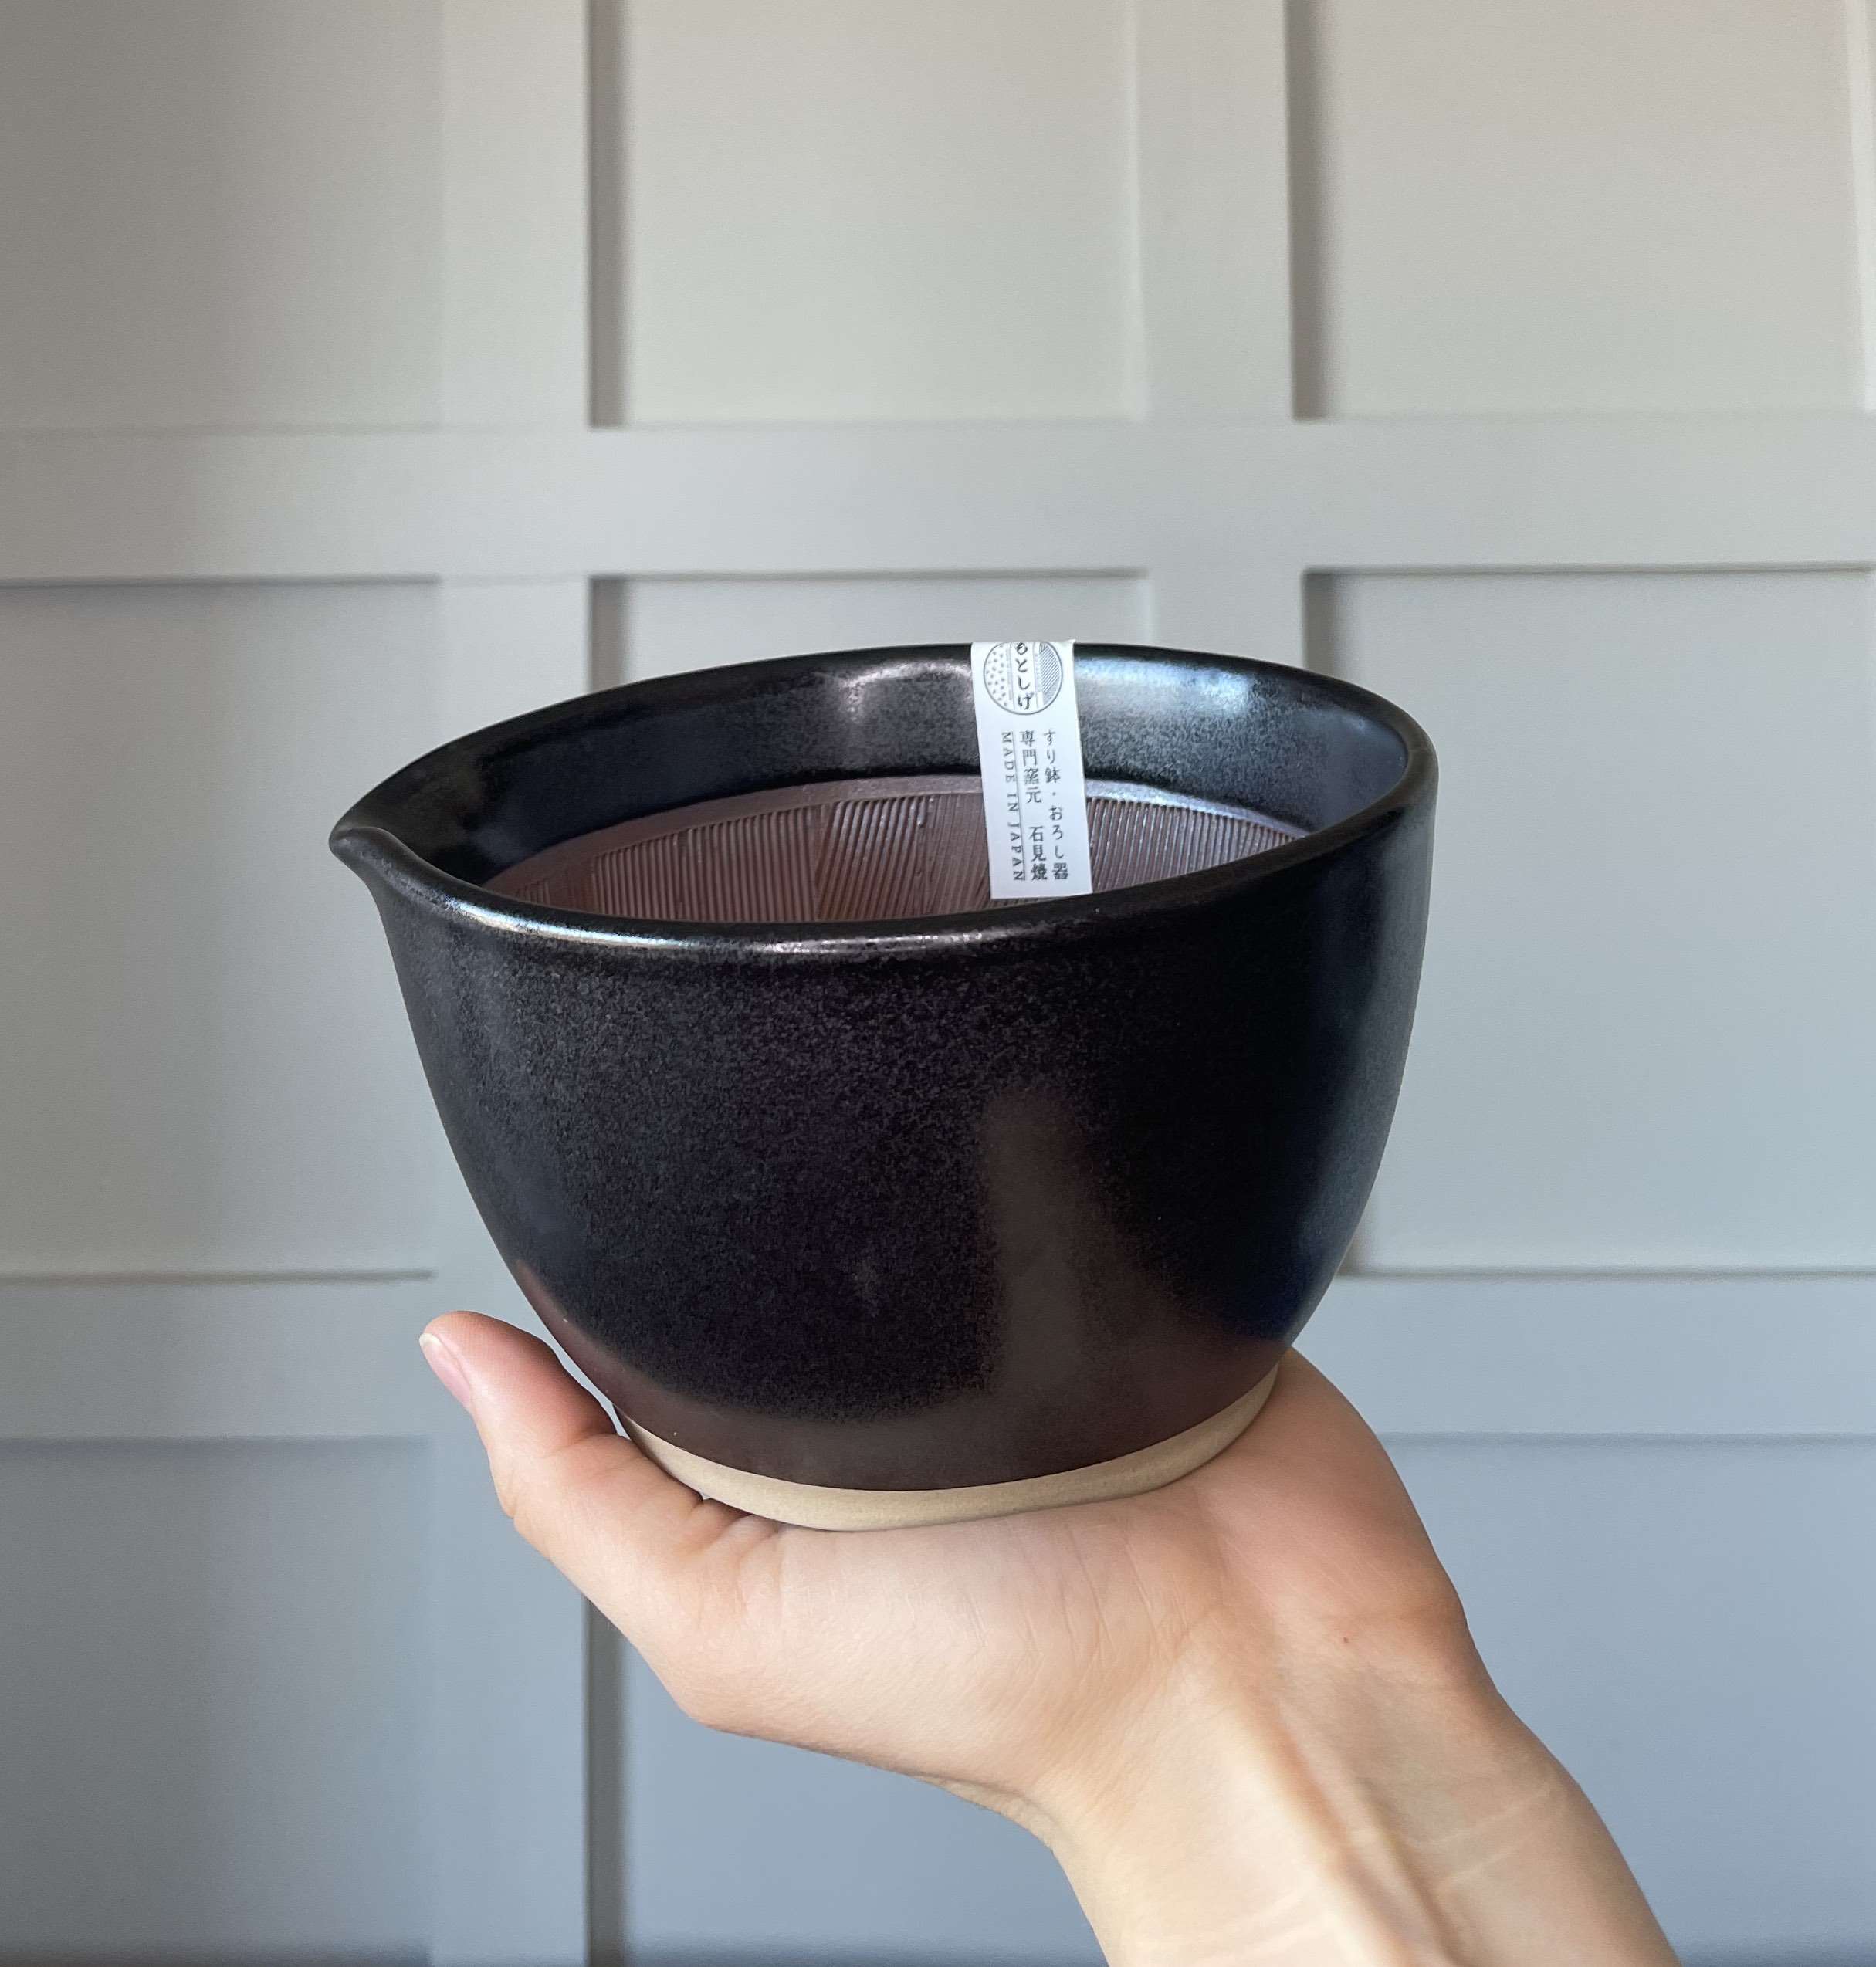
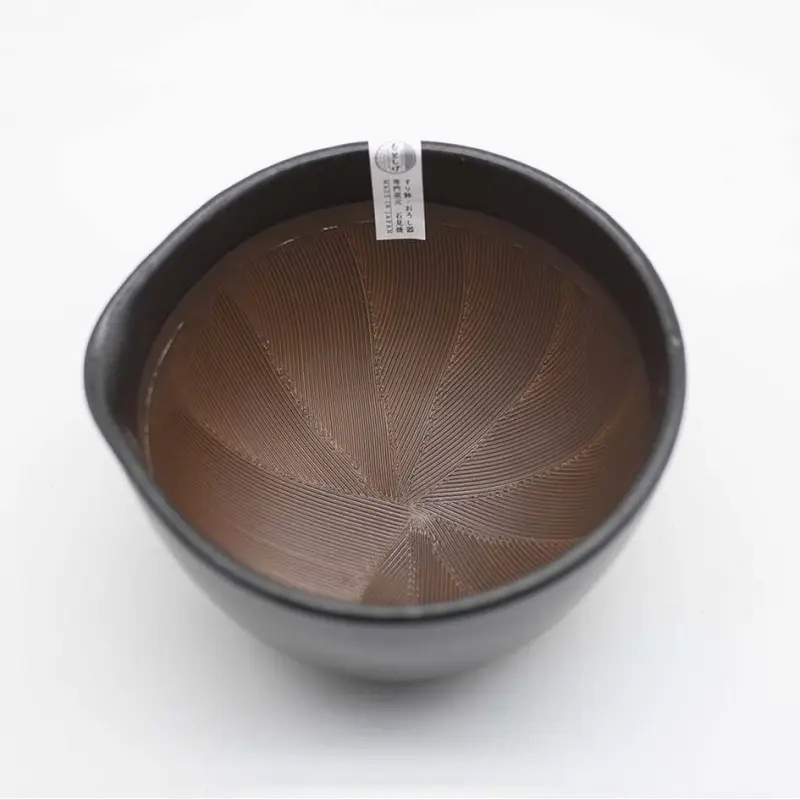
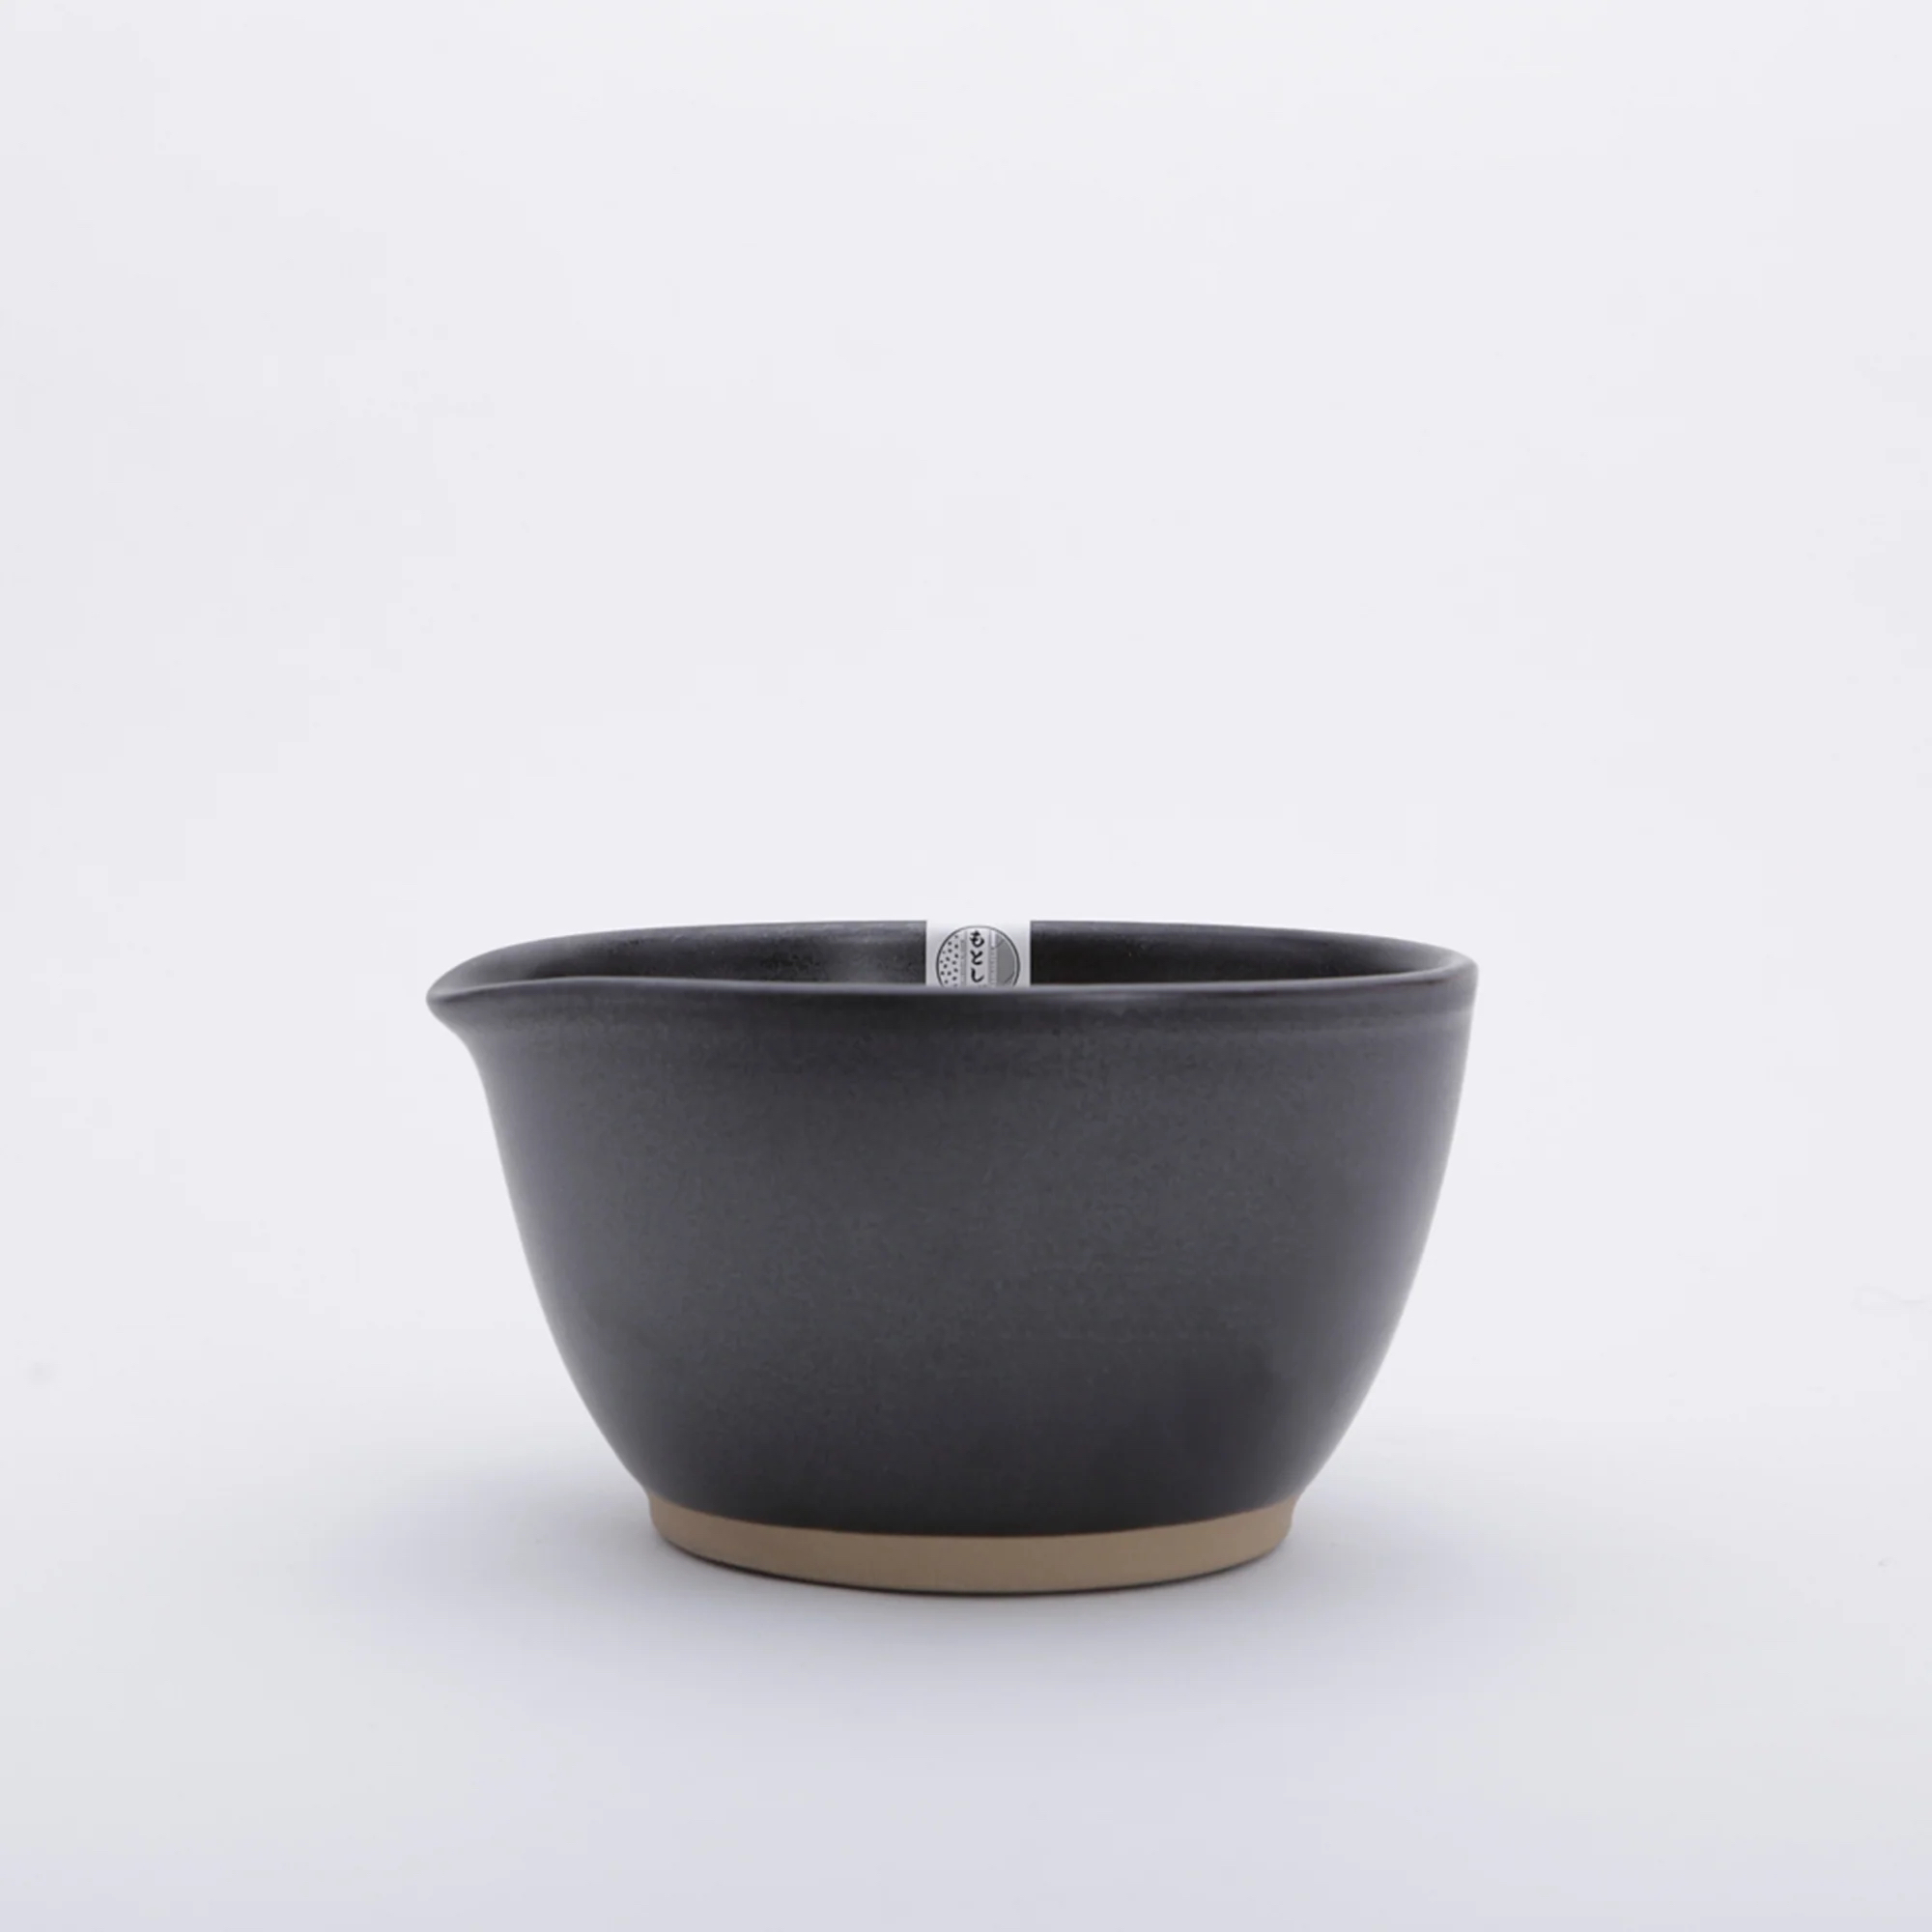
The hand-made ridges on the inside of the bowl are called kushi no me. They help bring out subtle aromatic compounds when worked with a wooden pestle, or surikogi (not included).
ABOUT THE MAKERS
All suribachi are produced domestically, with the clays sourced from Shimane, Gifu and Tajimi regions. The glaze, coloring and coatings do not contain lead or other harmful ingredients.
The rough “kushi no me” pattern on the inside of the pot is essential for the flavor of the final product. The size and positioning are, therefore, of the utmost importance, with experienced craftsmen creating the ridges one by one by hand – as opposed to many modern businesses that use machinery for this.
To make one suribachi, an experienced craftsman goes through the following 9 steps:
- Dissolve the clay in water, stir well and filter to remove impurities. Form clay.
- Put clay in a plaster mold and mold it with a potter’s wheel to make it into a grinder bowl shape. Carefully craft ridges one by one with a special comb.
- Remove from the mold when half-dried and shape it by rounding the edges.
- Place on a shelf and let dry for about two weeks. The product created in this way is called the base material (shiraji).
- Glaze – apply a thin, white protective layer on the inside to block any dirt. Coat outside.
- Kiln – the glaze dries quickly, so the bowls are put it in the kiln within the same day.
- Bake for about 24 hours, cool for 24-48 hours. Remove from the kiln.
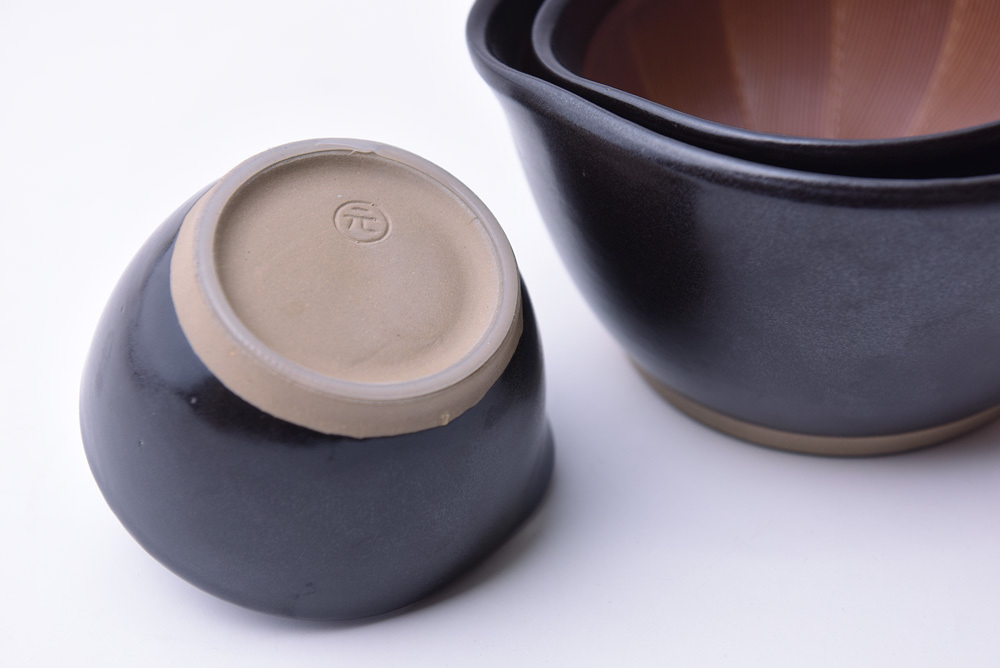
- Silicone rubber – Once completely dried, the rubber is attached to the bottom of the bowl.
- Pack and prepare for safe shipping, strictly sorting to make sure no defective or imperfect products leave the workshop.

Reviews
There are no reviews yet.